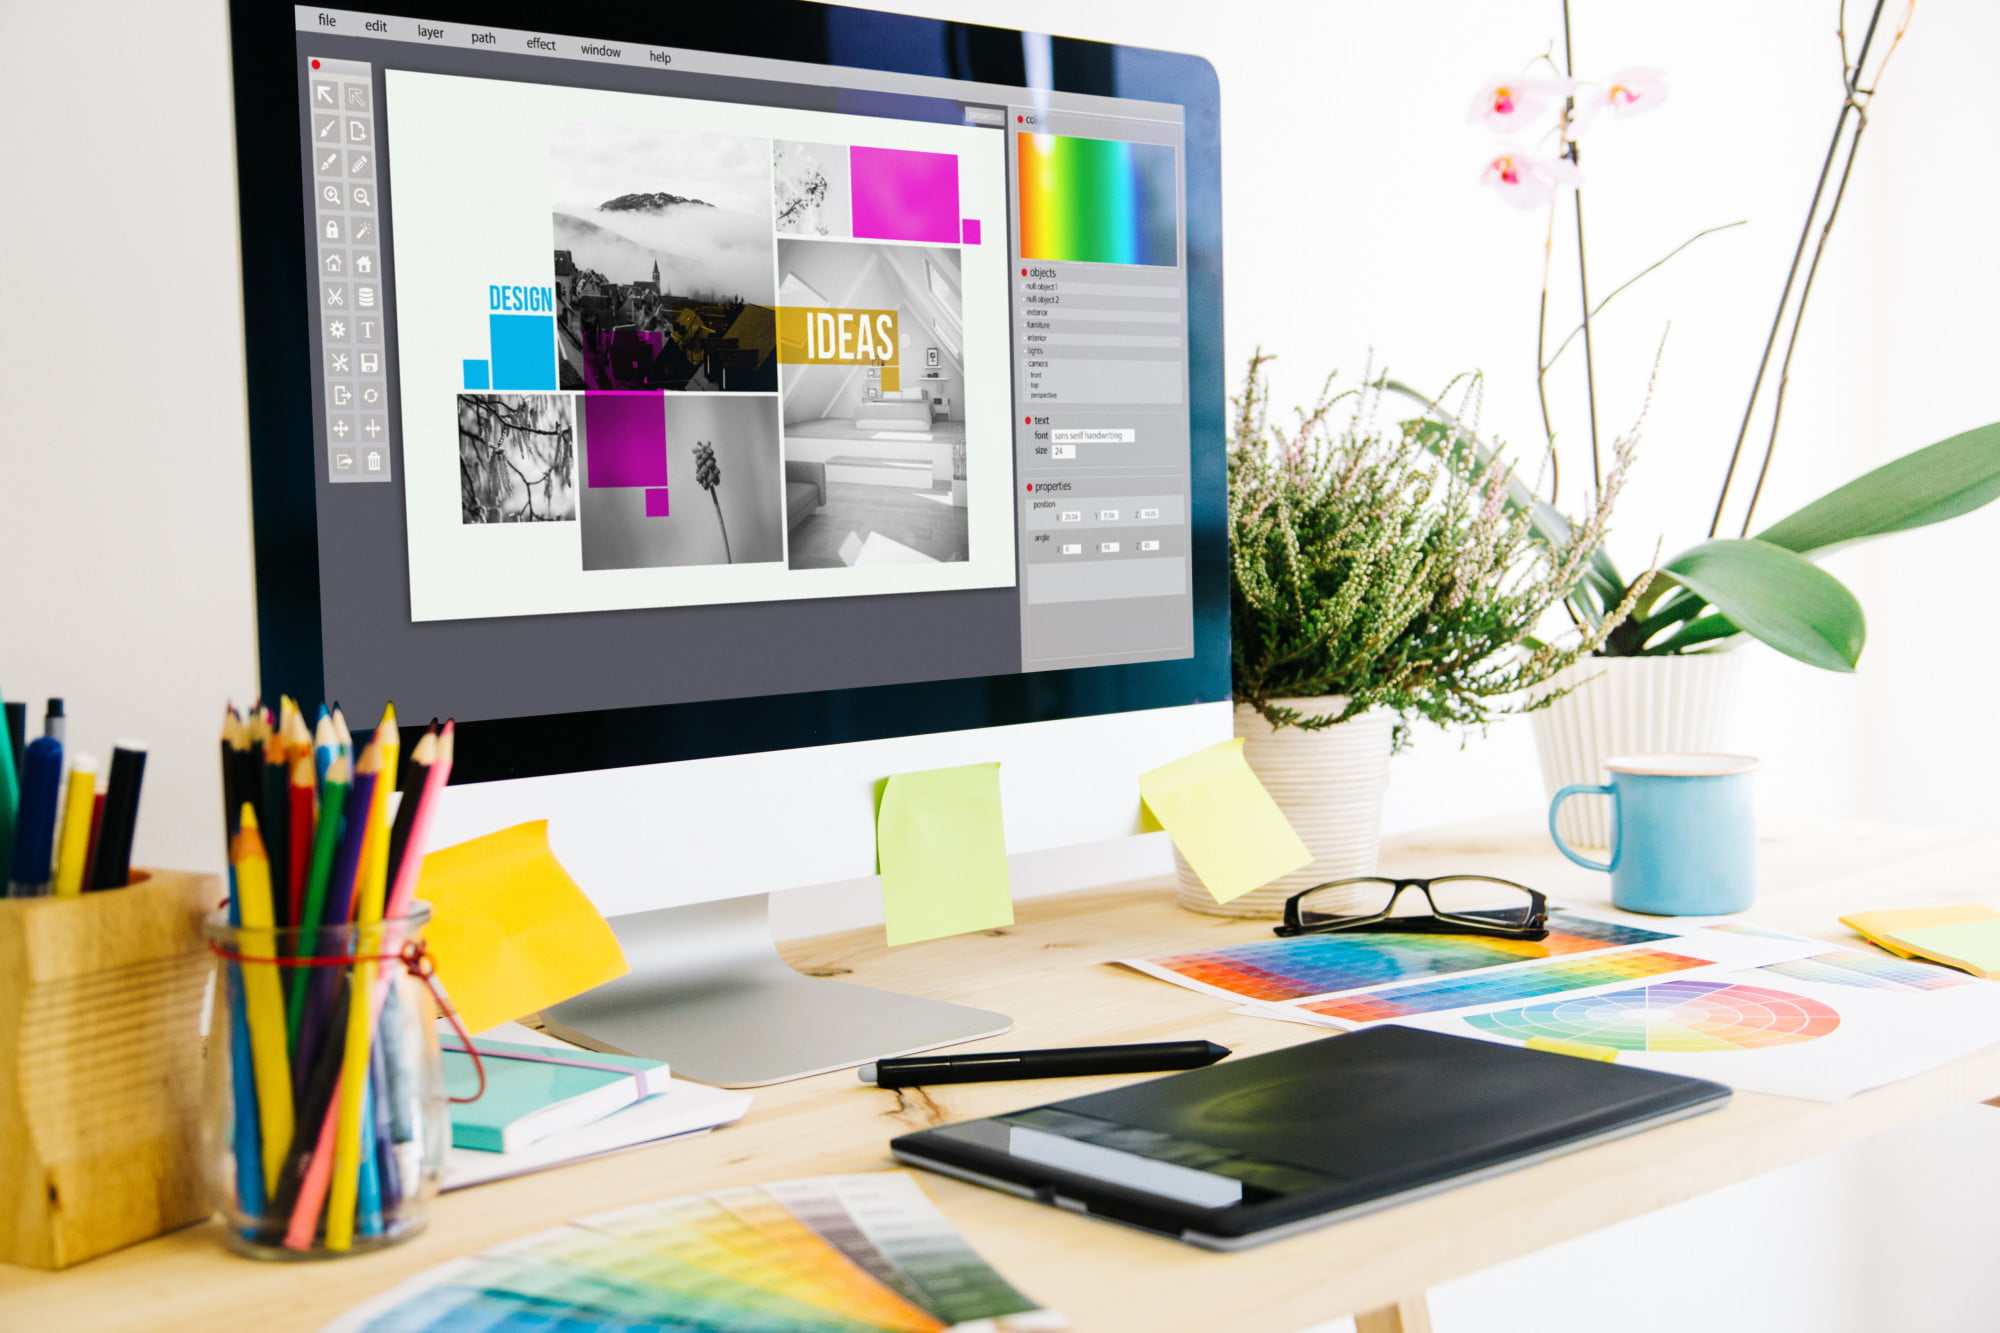
If you’re looking to jump into the world of image editing, we’ve got you covered.
We all know Photoshop software is a dizzying platform to dive into. The options seem endless and it seems there is always something more you could find out or a new skill you could pick up.
But, by focusing on the basics and understanding a few easy tricks, the world of Photoshop can be a little less intimidating.
Read on to learn a few easy Photoshop tricks to help you level up your photos.
1. You Can Select Color From Anywhere
In Photoshop, you can use the color picker to select a color from anywhere on your screen. Simply click on the color picker icon in the toolbar, then click on the color you want to select. You can also use this trick to sample colors from images.
2. Install Your Desired Custom Brushes
When using Photoshop software, you will discover that there are a ton of great Photoshop brushes out there for you to choose from. Luckily, it’s easy to install custom brushes in Photoshop. Once you’ve found some brushes you like, simply download them and load them to Edit > Presets > Preset Manager.
3. You Can Copy Layer Styles Easily
This allows you to quickly create consistent looks for your graphics and photos. To copy a layer style, simply right-click on the layer with the style you want to copy and select “Copy Layer Style”. Then, create a new layer and right-click on it to select “Paste Layer Style”.
4. Easily Merge Layers
One way is to use the “Layer” menu at the top of the screen and select “New Layer” from the drop-down menu. This will open up a new layer in your document. Another way to easily merge layers is to use the keyboard shortcut “Ctrl+Shift+E” (Windows) or “Command+Shift+E” (Mac). This will create a new layer that is a composite of all the visible layers below it.
5. Create Guides Easily
Guides are simply horizontal or vertical lines that you can use to line up elements in your design. Creating guides is easy – all you need to do is click and drag from the ruler area on the top or left-hand side of your workspace.
When you release the mouse button, a guide will appear. You can move guides around by clicking and dragging them and delete them by dragging them off the canvas.
6. Make Use of the History Panel
To use the History panel, simply click on the panel and then click on the step you want to go back to. You can also click on the name of the step to see a preview of what the image looked like at that point. If you want to go back to a specific point, you can click on the little black arrow next to the step.
7. Explore the Image Swap Blend
The image swap blend is a great way to switch up the look of your photos. To do this, simply open two images in Photoshop and select the “blend” option from the toolbar. Then, choose the “image swap” option, and voila! Your photos will have a new look.
For a detailed guide on how to use image swap blend, read on for more info.
Explore More Beginner Photoshop Tricks
If you’re a beginner Photoshop user, there are plenty of Photoshop tricks and tips that you can learn to help you improve your skills. With a little practice, you’ll be able to take your photos to the next level.
For more related tips and tricks, visit our blog posts now!


