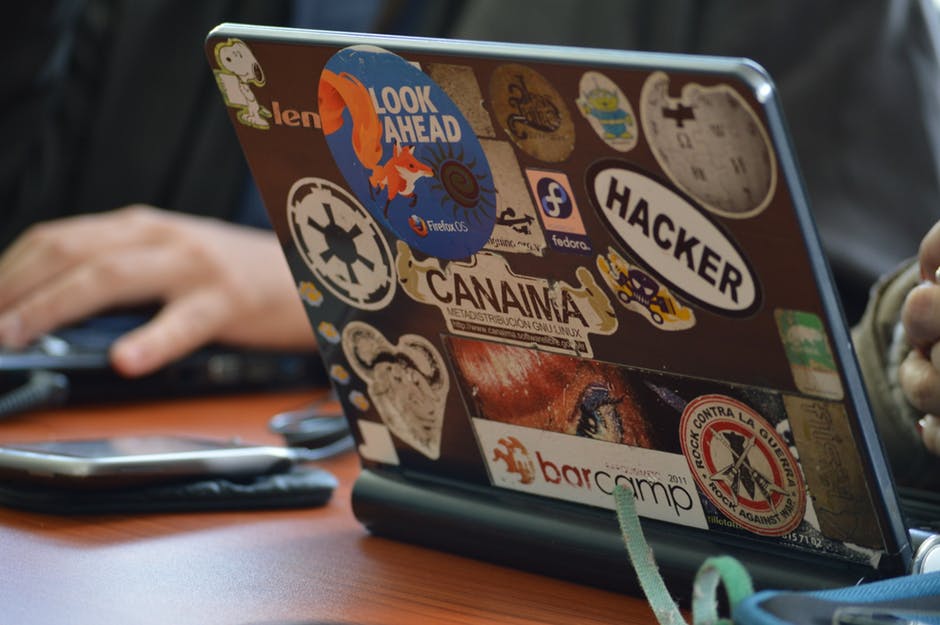
Creating custom laptop stickers seems like a daunting task. Yet, it doesn’t have to be that complex. In fact, there are plenty of ways you can advertise your brand with stickers that don’t require detailed image editing software.
If you love the idea of laptop stickers but aren’t sure how to get started, we’ve got you covered.
Read on.
1. Identifying the Best Materials for Your Laptop Stickers
Start by selecting a durable material like vinyl, polyester, mylar, or paper. Vinyl stickers are water and UV-light resistant which makes them perfect for outdoor use and as laptop decals. Polyester is also weather-resistant and provides a glossy, vibrant look.
Mylar stickers or reflective stickers create a more unique look as the materials refract light. Paper is the cheapest material and is good for short-term use. Next, decide between a matte, glossy, or transparent finish, as this will impact durability and cost.
2. Designing Your Custom Laptop Sticker
Creating custom laptop stickers is a great way to show off your style and personality. It can be a fun process and you’ll be surprised by how creative you can get. Start by deciding if you would like to design your own sticker or use a template to base your design on.
There are several platforms online where you can source images and artwork to create your unique design. Next, you will want to determine what size and shape would work best for your laptop.
3. Choosing the Right Printer and Ink for Custom Laptop Stickers
The quality of your customized stickers will be based on selecting the right printer and ink. Aim for a printer that has a photo-quality resolution and uses a sublimation process. Sublimation involves a specialized ink and paper that is heated, and the dye permanently fuses with the substrate.
The higher the dpi (dots-per-inch) resolution, the higher the image quality. Select an ink that is designed for vinyl or other materials that are waterproof and durable. Laser or pigment ink can be used depending on the type of material you are using. With the right combo of printer and inks, your designs will come out looking sharp, vibrant, and waterproof!
4. Tips for Cutting and Applying Custom Laptop Stickers
To make sure that the sticker is cut correctly, be sure to have a pair of scissors handy and cut along the border of the sticker so that it’s just the right size to fit onto your laptop.
When it’s ready, slowly apply the sticker onto the laptop, working from the center outward. Make sure to firmly press down on the edges of the sticker to ensure that no air bubbles form in the stickers. Properly applying custom laptop stickers can make your laptop unique and stylish looking. You may also check these custom stickers in Canada for a variety of designs.
All About Creating Custom Laptop Stickers
Creating custom laptop stickers is both easy and fun! With the numerous design options and tips shared, you can now create inspiring and creative stickers that are perfectly suited to your style and needs.
So go ahead and have fun. Make sure to save and check out our store for more custom sticker ideas!
Visit our main blog for more informative articles!